Face Painting Tips for Beginners
Starting face painting can feel messy at first. You might end up with more paint on your hands than on the kid’s cheek. That’s normal. But with the right supplies and a few tricks, anyone can learn to paint simple, cute designs.
I’ve gathered these tips to help you skip the common mistakes. Whether you are painting for a birthday party or a school carnival, these basics will get you started.
Choose the Right Paint for Face Painting
This is the most important rule. Do not use craft paint or cheap acrylics from the art store. Those are not made for skin. They can cause rashes or worse reactions.
You need water-based face paint. It is easy to use and washes off with soap and water. Look for paints labeled as hypoallergenic and non-toxic. The professional artists at Face Painting Philadelphia use FDA-approved products to keep skin safe.
For beginners, a kit with 12 to 20 colors is plenty. You don’t need 50 colors to start. Kits often come with a sponge and a brush, which helps.
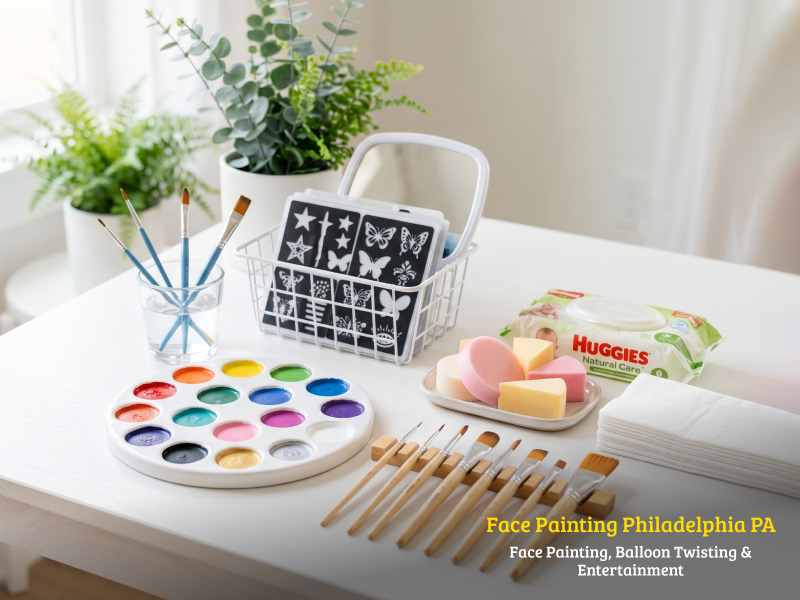
Get the Essential Tools
You don’t need a lot of expensive gear. Here is a simple list to get your station ready:
- Water cup: For cleaning brushes and activating paint.
- Paper towels: Keep these close to dry your brush.
- Sponges: Use soft makeup sponges for large areas (like a green cheek for a frog).
- Small brushes: You need a flat brush for filling in shapes and a round brush for lines.
- Stencils: These are great for beginners. They help you make perfect stars or hearts without freehand drawing.
- Baby wipes: Use these to wipe off mistakes or clean the skin before you start.
Prepare the Skin
Clean skin holds paint better. If a child has a runny nose or a dirty face, the paint will slide off.
First, wipe the cheek with a fragrance-free baby wipe. Let it dry for a second. If the skin has scratches, eczema, or a bad sunburn, do not paint on it.
Also, be careful with kids under 3 years old. They move a lot. They might try to lick the brush. It’s usually safer to paint a hand or arm for the little ones instead of their face.
How do you do face painting for beginners? To start face painting, you need water-based paints, a flat brush, a round brush, and sponges. First, clean the skin with a wipe. Dip a damp brush into the paint and activate it by swirling it on a palette. Apply paint in thin layers to avoid cracking. Use a stencil for shapes like stars or hearts if you cannot draw freehand. Always wash brushes between customers to keep hygiene high.
Master the “One Stroke” Technique
This sounds fancy, but it is easy. Professionals use this to make rainbow flowers or flames look smooth.
You take a flat brush and wet it slightly. Then, you drag the wet brush across two or three different colors on your palette (like red, yellow, and orange). Now, when you paint a petal, the colors blend automatically. It looks like you are an expert.
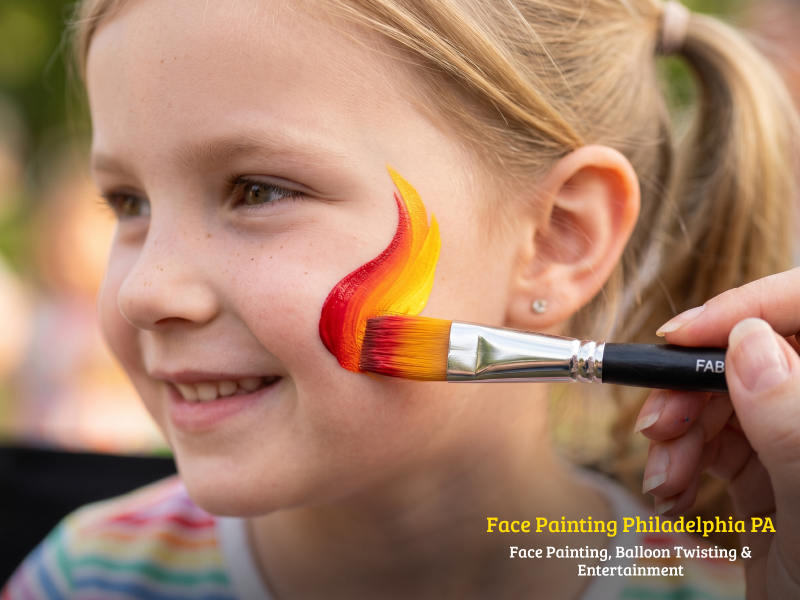
If you buy a “split cake,” it has several colors in one pan. You just wet your brush and touch the pan. It saves a lot of time.
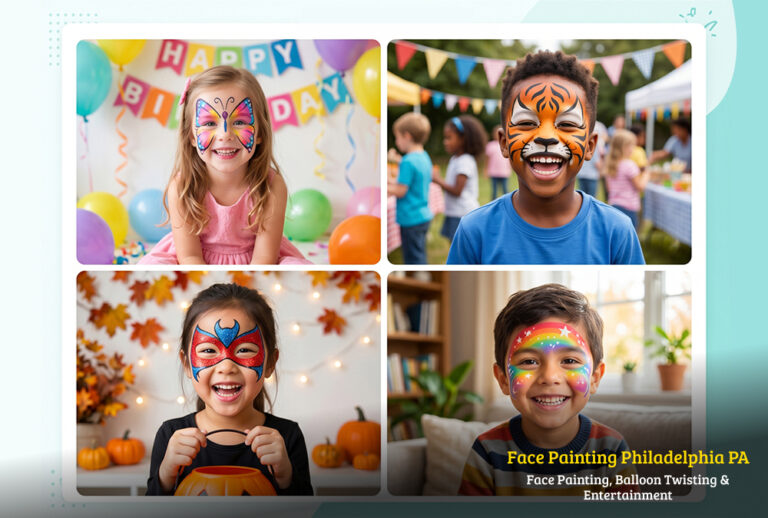
Start with Easy Designs
Don’t try to paint a full-face Spider-Man on your first try. It will stress you out. Stick to “cheek art.” These are small designs on the cheek that take 1 to 2 minutes.
Here are the best designs for beginners:
- The Rainbow: Paint three stripes (red, yellow, and blue) with a flat brush. Add a white cloud at the end.
- The Star: Use a stencil. Sponge yellow paint over the hole. Lift the stencil. Done.
- The Butterfly: Paint two big “C” shapes for the wings on the cheeks. Add a line down the nose for the body.
- The Dog: A white base, a black nose on the tip of the nose, black spots, and floppy ears drawn on the cheeks.
Look at websites like facepaintingphiladelphia.com to see how pros handle large events. They serve the Philadelphia area and have been doing this for over 15 years.
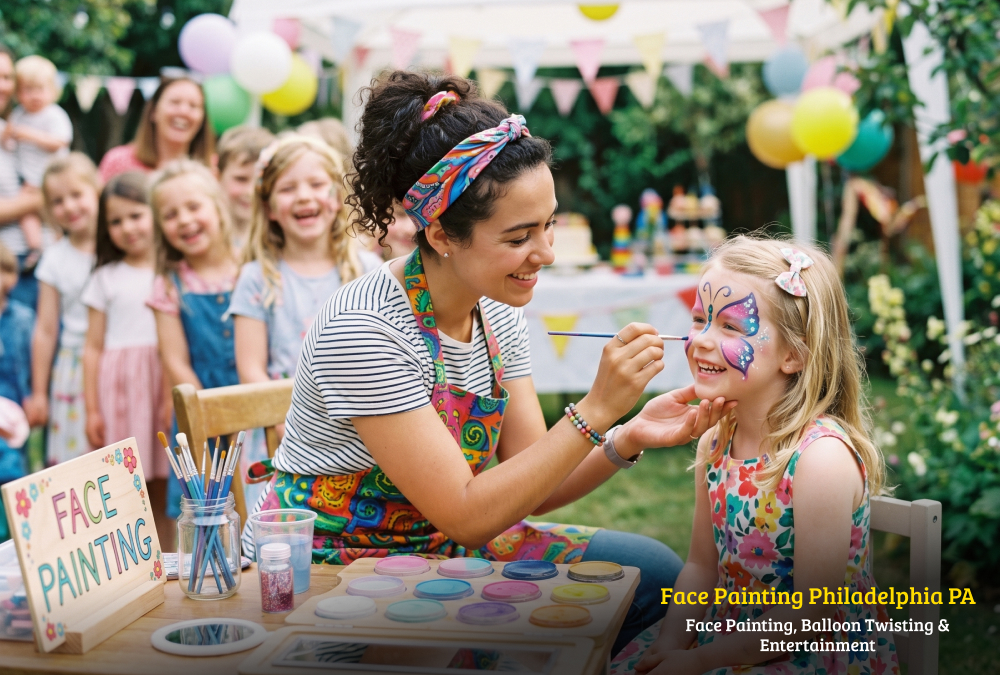
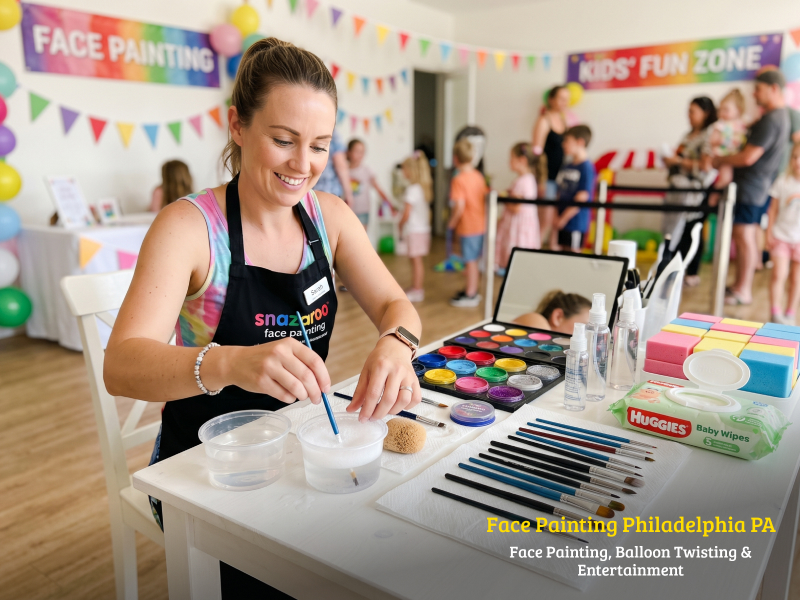
Set Up Your Station
Where you sit matters. Set up a small table with two chairs. One chair is for you. One is for the guest.
Keep your water cup away from the edge so kids don’t knock it over. Lay out your designs on a board so kids can point to what they want.
Always have a hand mirror ready. Kids want to see the magic happening. Show them the final look immediately to make them smile.
Hygiene and Safety
Face painting is very personal. You are touching someone’s face. You need to be clean.
Do not double-dip a dirty brush into your clean paint pot. If you put a brush covered in pink paint into the white paint, you ruin the whole pot. Instead, take a little bit of paint and put it onto a palette (or a tile) first. Paint from the palette, not the pot.
Between customers, clean your brushes. If you are busy, have multiple brushes ready. Wash sponges after one use or use a clean side of a disposable sponge. Government health guidelines say you should wash brushes in warm soapy water and sanitize them.
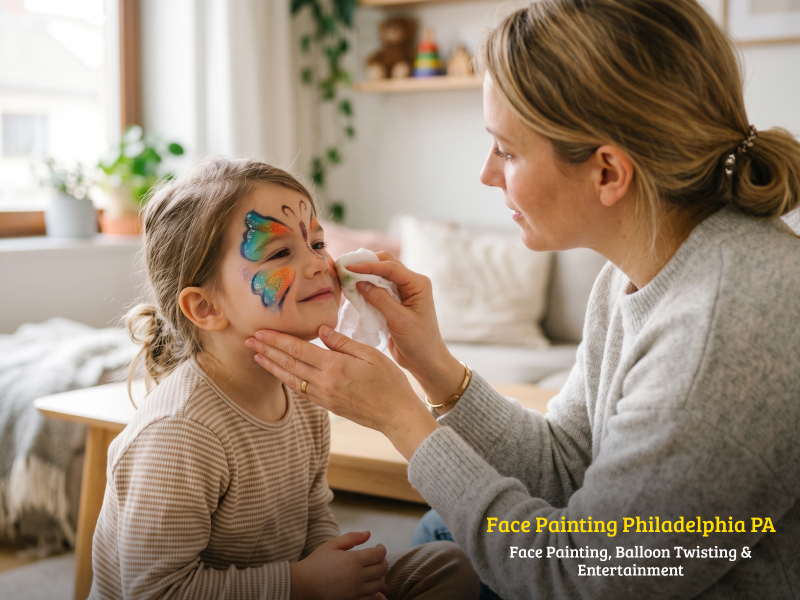
Removing the Paint
Removing the paint should be easy. Water-based paints come off with warm water and soap.
Do not scrub hard. Wet a soft cloth or a baby wipe and hold it on the paint for 10 seconds. Then wipe gently. If glitter is stuck, use a little lotion to break it down.
Practice Makes Perfect
Don’t expect to be perfect on day one. Practice on your partner or your kids at home. Try painting on an orange or a banana. The curved surface feels like a cheek.
If you get stuck, there are many videos online. But remember, real experience helps the most. Face painting Philadelphia offers lessons if you really want to learn. They have been in business for more than 15 years and know how to handle big crowds.
Final Tips for Success
- Stay calm: If you make a smudge, turn it into a glitter dot.
- Dry time: If the paint is wet, don’t let the kid rub their face. Blow on it gently to dry it.
- Check allergies: Always ask parents if the child has sensitive skin before you start .
Face painting is a skill. You get better every time you pick up the brush. Keep your kit simple, stick to the safe products, and focus on making the kids happy. You don’t need to be a famous artist to draw a good butterfly. You just need to start.
FAQs
Q1) What types of face paints are best for beginners?
Water-based paints are ideal for beginners because they are easy to use and remove. They are also safe for the skin and dry quickly.
Q2) How can I prevent face paint from smearing?
To prevent smearing, make sure the paint is applied in thin layers, and allow each layer to dry before applying another.
Q3) Can face painting be done on sensitive skin?
Yes, but always use hypoallergenic, non-toxic face paints. Perform a patch test before applying it to larger areas.
Q4) How long does face paint stay on?
Face paint typically lasts for several hours, but it depends on the type of paint and the area of the face. It can be easily wiped off with soap and water.
Q5) How can I improve my face painting skills?
Practice regularly, start with simple designs, and experiment with different techniques like layering and fine details.
Q6) Can I use face paint for professional events?
Yes, professional face painters can create intricate designs that are perfect for events, from festivals to corporate gatherings.
Q7) What should I do if I make a mistake while painting?
Don’t worry! You can easily correct mistakes by wiping away the paint and starting again. Practice will help you improve over time.