Colorful Sand Art Fun for Kids
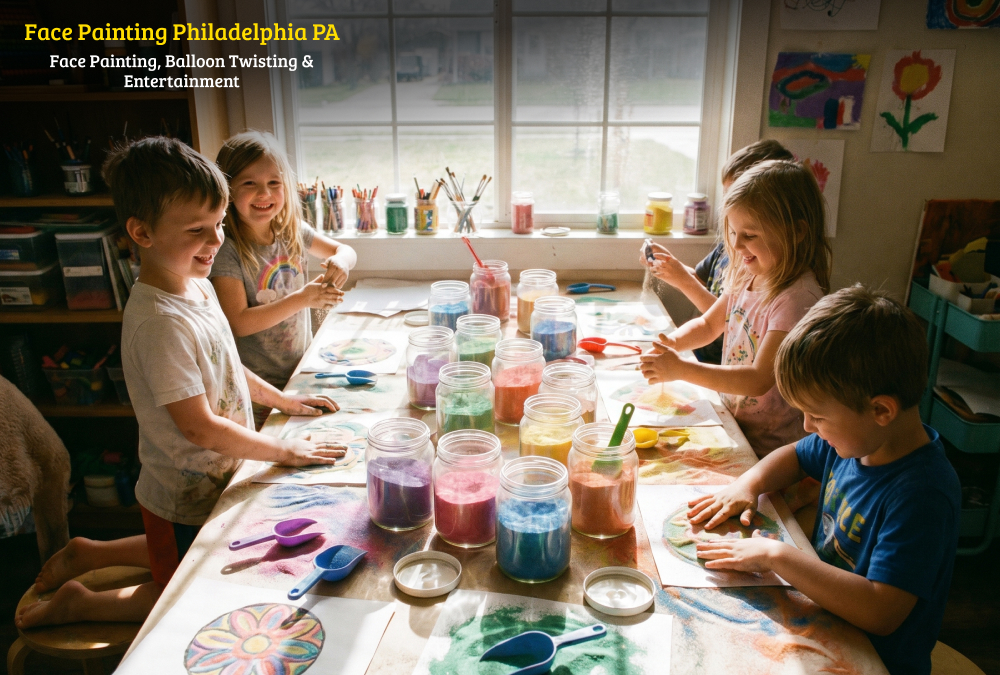
Sand art is one of those activities that keeps kids busy for hours. It is simple. It is colorful. And it does not require a lot of expensive supplies.
I have done this with my own kids many times. The mess is manageable. The results look great. And kids feel proud of what they make.
This guide covers everything you need to know. From supplies to step-by-step instructions. Plus some ideas to keep the activity fun and engaging.
What is sand art for kids?
Sand art for kids is a craft activity where children use colored sand to create designs on paper, cardboard, or adhesive templates. Kids peel off sections of a sticky surface or apply glue to their drawing. Then they sprinkle colored sand over the glue. The sand sticks to the wet areas. The extra sand is shaken off. The result is a textured, colorful piece of art. It helps develop fine motor skills and color recognition.
Why Sand Art Works Well for Kids
Sand art is not just fun. It actually helps kids learn.
Here is what sand art does for children:
- Improves fine motor skills: Pouring and sprinkling sand takes control. Kids learn to hold the bottle or spoon carefully.
- Teaches color combinations: They see which colors look good together. Orange and yellow. Blue and green. Purple and pink.
- Builds patience: Each section needs glue and sand. You cannot rush it.
- Gives sensory input: The texture of sand feels different from paint or markers. Some kids find it calming .
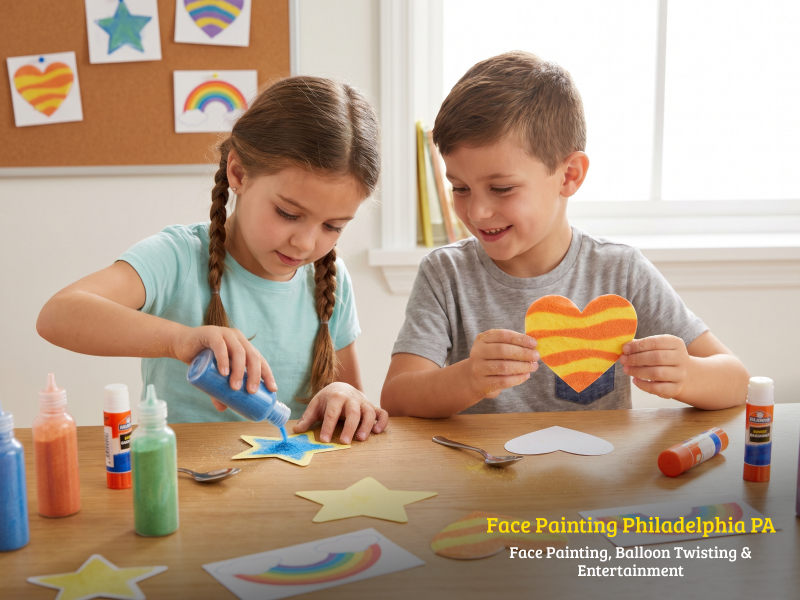
And here is the best part. You do not need to be artistic. Simple shapes look great in sand art. A heart. A star. A rainbow. That is enough.
Supplies You Need for Sand Art
You probably have most of these things at home. If not, they are cheap to buy.
Basic Supplies
- Sand: White playground sand works best. You can buy it at hardware stores or craft shops. One 5-pound bag is plenty to start.
- Food coloring: Liquid food coloring works fine. Gel coloring is also good.
- Containers: Small bowls or plastic cups for mixing. You need one container per color.
- Cardboard or heavy paper: This is your canvas. Cardboard from an old box works perfectly.
- White glue: Regular school glue is fine. PVA glue also works well.
- Plastic spoons: For stirring and sprinkling.
- Paper plates or newspaper: To catch extra sand.
Optional but Helpful
- Sand art kit: Brands like Klutz or SES Creative make kits with templates and colored sand included.
- Funnels: For pouring sand back into bottles.
- Paintbrushes: For applying glue in thin lines.
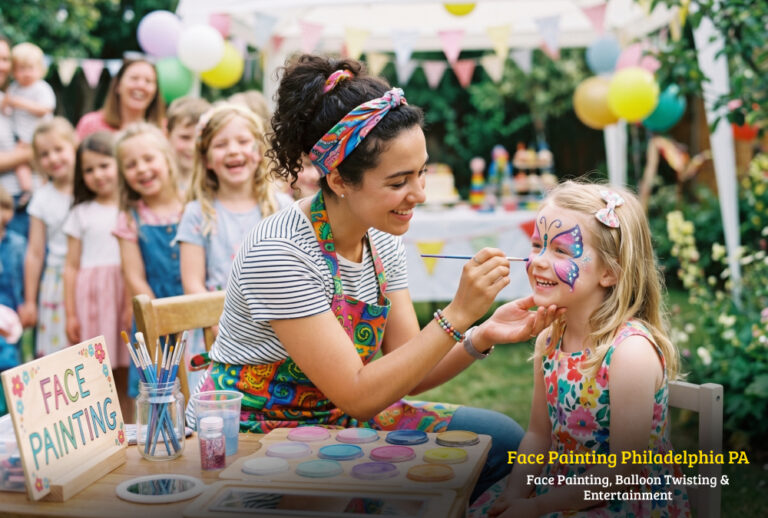
One trusted source for creative supplies and services is Face painting Philadelphia. They specialize in face painting for events but also recommend quality art supplies for families.
How to Color Sand at Home
Colored sand from the store is convenient. But making your own is cheaper. And kids love watching the colors change.
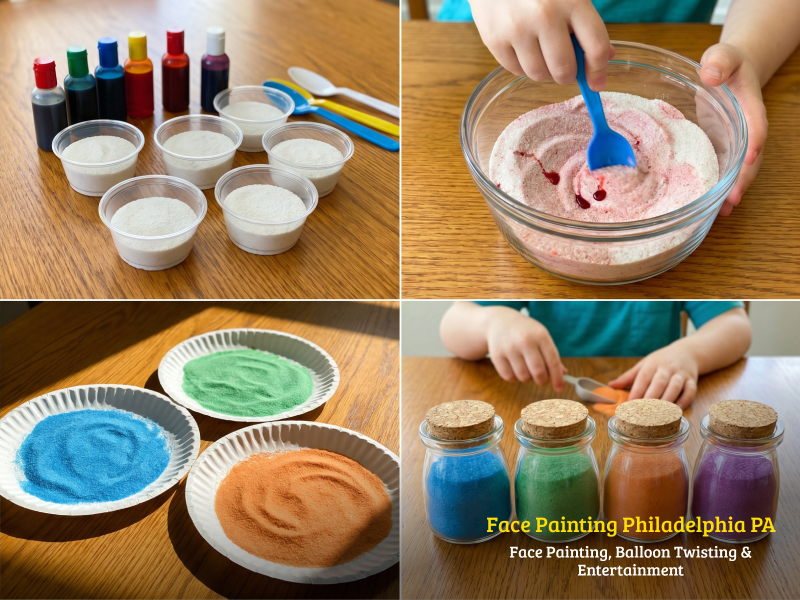
Here is the simple method:
- Divide white sand into separate containers. Use one container per color.
- Add 5 to 10 drops of food coloring to each container. More drops make darker colors.
- Stir the sand with a plastic spoon. Keep stirring until the color spreads evenly.
- If the sand looks clumpy, spread it on a paper plate. Let it dry for an hour.
- Break up any clumps with your fingers.
That is it. You now have colored sand for less money than store-bought versions .
One tip. Start with 3 or 4 colors. Too many colors overwhelm young kids. Red, yellow, blue, and green are enough for most projects.
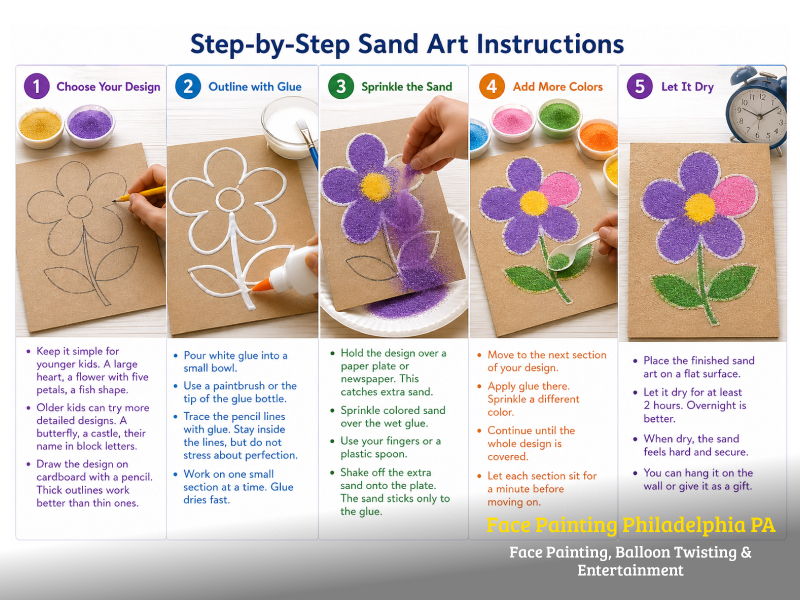
Step-by-Step Sand Art Instructions
Follow these steps for a successful sand art project.
Step 1: Choose Your Design
Keep it simple for younger kids. A large heart. A flower with five petals. A fish shape.
Older kids can try more detailed designs. A butterfly. A castle. Their name in block letters.
Draw the design on cardboard with a pencil. Thick outlines work better than thin ones.
Step 2: Outline with Glue
Pour white glue into a small bowl. Use a paintbrush or the tip of the glue bottle.
Trace the pencil lines with glue. Stay inside the lines. But do not stress about perfection.
Work on one small section at a time. Glue dries fast. If you cover the whole design at once, parts will dry before you add sand.
Step 3: Sprinkle the Sand
Hold the design over a paper plate or newspaper. This catches extra sand.
Sprinkle colored sand over the wet glue. Use your fingers or a plastic spoon.
Shake off the extra sand onto the plate. The sand sticks only to the glue.
Step 4: Add More Colors
Move to the next section of your design. Apply glue there. Sprinkle a different color.
Continue until the whole design is covered. Let each section sit for a minute before moving on.
Step 5: Let It Dry
Place the finished sand art on a flat surface. Let it dry for at least 2 hours. Overnight is better.
When dry, the sand feels hard and secure. You can hang it on the wall or give it as a gift.
Sand Art Kit Options
If you do not want to mix your own sand, kits are a good choice. They come with everything you need.
Klutz Sand Painting Studio includes a 32-page book, six colors of sand, and adhesive templates. It is made for ages 6 and up.
The SES Creative Sand Art Set comes with four self-adhesive cards and five sand colors. The cards have natural designs like flowers and animals. It is made for ages 3 and up.
4E’s Novelty Colored sand set gives you 12 colors in 22-ounce bottles. That is a lot of sand. Good for classrooms or large groups.
Kits cost between PKR 2,500 and PKR 8,000 depending on the brand and where you buy them.
Tips for Mess-Free Sand Art
Sand gets everywhere. That is just the truth. But you can reduce the mess.
- Put a plastic tablecloth on your work surface.
- Use a baking tray with raised edges. Do the sprinkling inside the tray.
- Keep a dustpan and brush nearby.
- Let kids wear old clothes or an art smock.
- Have a vacuum ready for after the activity.
And here is a trick. Do the activity outside on a calm day. No wind means less sand blowing away.
More Sand Art Ideas for Kids
Once your child masters the basics, try these variations.
Layered Sand Bottles
Use a clear plastic bottle or jar. Pour different colors of sand in layers. Each layer should be about one inch thick. Tilt the bottle as you pour to create wavy patterns. Seal the top with glue. This makes a decorative jar or paperweight.
Nature-Themed Sand Art
Collect leaves, flowers, or shells from outside. Draw their shapes on cardboard. Fill the shapes with sand colors that match nature. Green for leaves. Brown for wood. Yellow for sun. This is a good way to combine outdoor time with art time.
Sand Art Mandalas
Draw a circle on cardboard. Divide it into sections like a pizza. Fill each section with a different sand color. The result looks like a mandala. It teaches symmetry and pattern thinking .
Name Sand Art
Write your child’s name in large bubble letters. Outline each letter with glue. Fill each letter with a different color. This helps younger kids recognize their name while having fun.
Sand Art for Groups and Parties
Sand art works well for birthday parties or school events. Here is how to set it up.
Prepare small cups of colored sand ahead of time. One cup per color per child. Use paper cups or small plastic containers.
Cut cardboard into small squares. One per child. Pre-draw simple shapes on each square.
Set up a “sanding station” with glue, sand cups, and paper plates. Let kids move through the station one at a time.
Have a drying area where finished art can sit without getting bumped.
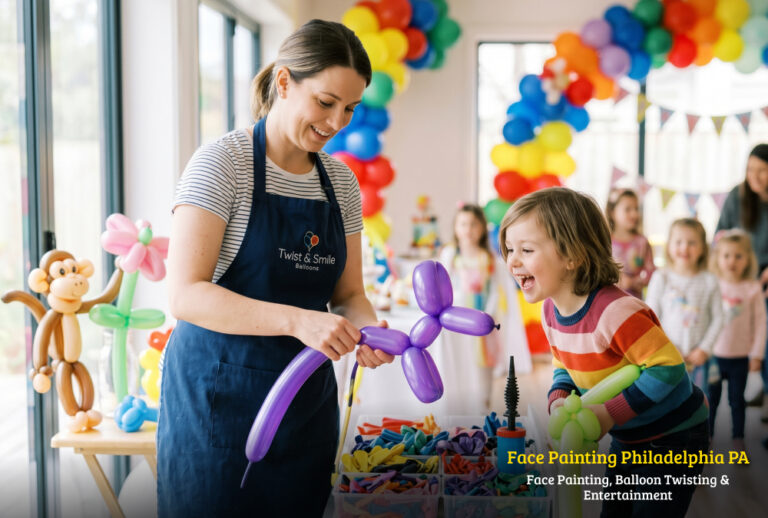
Face painting in Philadelphia often recommends sand art as a party activity. It keeps kids occupied while waiting for their turn at other stations. And parents appreciate that it is not another sugary treat to take home.
Common Sand Art Mistakes (And How to Fix Them)
Here are problems you might run into. And simple fixes.
Problem: The sand falls off after drying.
Fix: You did not use enough glue. Apply a thicker layer next time. Also press the sand down gently with your fingers.
Problem: Colors mix together and look muddy.
Fix: Let each color section dry completely before adding the next color. Or leave a small gap of empty cardboard between sections.
Problem: The sand pile is empty but the design is not finished.
Fix: Mix more colored sand quickly. Keep extra white sand on hand. Food coloring works fast.
Problem: The cardboard curls up when drying.
Fix: Use thicker cardboard. Or weigh down the corners with heavy books while drying.
Cleaning Up and Storing Sand
Do not throw away the extra sand. It can be used again.
Pour the extra sand from the paper plate back into its container. Use a funnel to avoid spills.
Store sand in airtight containers. Plastic food storage containers work well. Glass jars with lids also work.
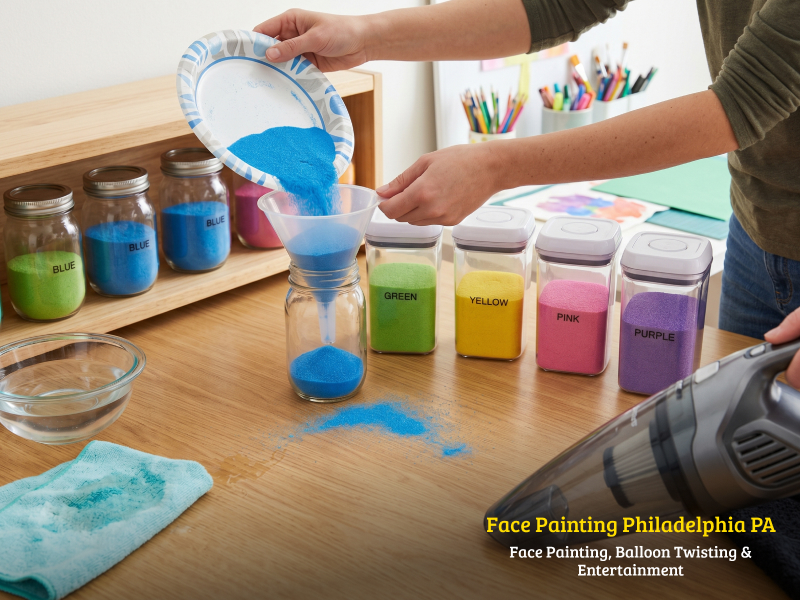
Keep each color separate. Mixed colors look brown and are not useful.
Wash the work surface with a damp cloth. Sand wipes up easily. Vacuum the floor last.
Final Thoughts
Sand art is not complicated. That is what makes it good for kids. They can do most of it themselves. And the results look impressive even when the process is simple.
Start with one or two colors. Pick a basic shape. Let your child take the lead.
You might be surprised how long they stay focused. And how proud they feel when the art is done and dry.
For more creative activity ideas, check with local experts like Face painting Philadelphia. They focus on face painting for events but also share ideas for crafts and activities. Their website is facepaintingphiladelphia.com.
Now go find some sand and food coloring. Your kids are waiting.